 Here is yet another little tidbit about me….
I am highly claustrophobic.
But I’m in good company, because it runs in my family, Can I say that I inherited it? I’m not so sure, because my parents aren’t claustrophobic. But I have a couple of aunts and some cousins who are. And honestly, I’m not sure that it is something that can be inherited.
It’s not a fun thing, and I never know when something is going to set me off. I mean, my co-workers aren’t surprised to see my jewelry lying on my desk, because there are times when my brain decides that I can’t breathe because I’m wearing a necklace. Now how silly is that? I know it’s silly. But my brain doesn’t. In itself, it’s thinking it can’t get my lungs to breathe.
My whole wardrobe is styled around this claustrophobia…it has to be something that I know I can take off quickly, if panic happens to set in.
 My poor friends have been on the receiving end of it too. Take, for instance, this little scenario a couple of years ago….
The setting is in the backseat of a car after running with my friends: Cindy, Rob, and Karen. I had my knee wrapped from a muscle strain… and had taped it so that the bandage wouldn’t move while I was running. We had just gotten in the car, and Cindy was in the back seat with me… I looked down and noticed that the tape had twisted a bit, and I couldn’t see the end of it to start to pull it off… and…. my brain decided at that moment I couldn’t breathe because I couldn’t find the end of the tape..
“Cindy, I can’t breathe… can you help me get this tape off?” I ask a touch panicked.
“Okay, let me help you get that off” She replies, calmly, but maybe with a little laughter…knowing that I am claustrophobic.
“You need to get it off now..” I tell her, a little more panicked.
“I’m trying!” She says, a little less calm, but with a little more laughter added.
“Does anybody have scissors?” I cry out in complete panic mode.
Karen starts rummaging through her bag, because she’s quite certain she has scissors in there. Cindy is fumbling with the tape… and they’re all laughing, and I mean, laughing hard. A girl couldn’t ask for more empathetic friends… Karen finds the scissors, and Cindy cuts the tape from my knee, freeing my lungs of their imaginary burden…
Crisis averted.
And we all laughed.
 And then there was the time many years ago, when I was working as the secretary at the local newspaper in Lockport. I should begin by saying that the editor at the time was a very grumpy man. Most of us did everything we could to avoid him. Well, at least I did everything to avoid him.
So, once in a while, my mom would stop with some piece of clothing or jewelry for me that she had just picked up while shopping… and this particular day, it was the cutest little dress. She dropped it off, and said to try it on during lunch, and then I could return it after work for a different size or different dress if I didn’t like it. It was a pullover, which was good, because there were no buttons or zipper to worry about.
I went into the ladies room to try the dress on. After I put it on, I realized that it was a little snug, but decided that I really loved the dress, and would stop after work to get the next size up. I went to pull the dress off over my head…
And it got stuck.
Of course it did.
It was stuck just at the shoulders, my arms high above my head, the dress covering my face. I did everything I could to get that dress over my head, but it was stuck tight.
I stood there for what felt like 15 minutes, in my bra and panties…and a dress covering my head, my arms stuck…waiting for someone to come walking into the ladies room to help me get the dress off… but I’m certain it was more like a milli-second…because panic had set in (there is no concept of time in panic mode).
At that point, there was only one thing that made sense to me (panic mode isn’t always sensible)… and that was to LEAVE the ladies room and get the first person to help me get the dress off of me. At that point, my brain imagined that I couldn’t breathe.
Yep.
I did.
I left the ladies room with the dress up around my shoulders and face, and my arms flailing over my head.
I mean…could there be anything worse that might happen?
Of course there could.
I ran smack dab into the editor.
Of course I did.
I hit him head-on…that grumpy editor.
At that point, I didn’t care who it was…and in my panic, I asked him to help me get the dress off, that it was stuck and I couldn’t breathe.
Of course he did.
He helped me remove the dress, freeing my lungs of their imaginary burden.
And I was mortified for the rest of that day.
And he wasn’t grumpy for the rest of that day.
But… it was another crisis averted.
I avoided him all I could after that incident.
He smiled whenever he saw me after that incident.
 Now don’t misunderstand…I’m not always in panic mode, and that was the only time it was clothing influenced. Okay, that’s not entirely true…there was the time that involved a dress, a zipper, a seatbelt, and a funeral home…but that’s a story for another day…. Usually it’s necklaces, bracelets, and rings that give me trouble, and they’re very easy to remove. It’s rare that I go into a panic attack…but needless to say, that there are times like that when I like to wind down with a little drinkie-poo. I’m not a heavy drinker…a lightweight, they call me….
I tend to like sweet cocktails…and usually something fruity…
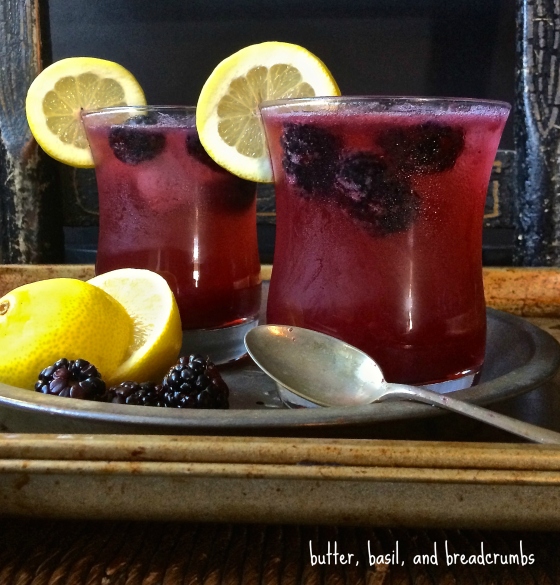
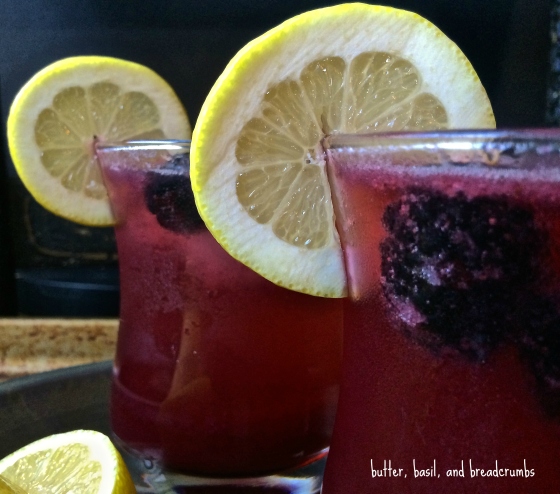
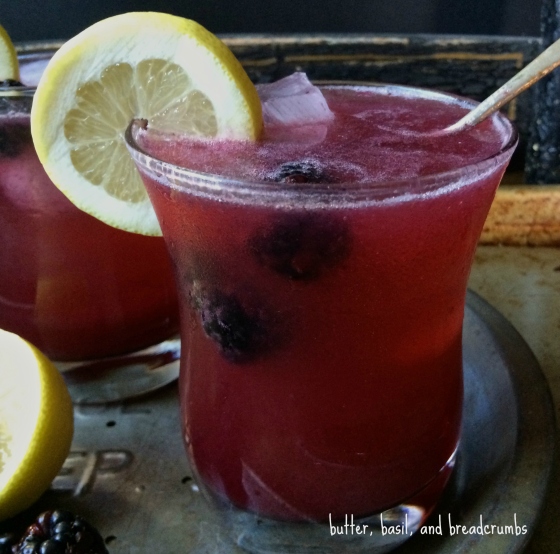
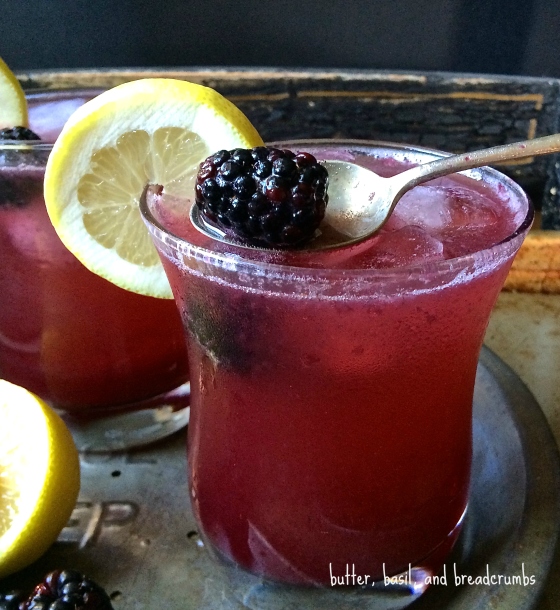
This beautiful and delicious Blackberry Fence Hopper is exactly the kind of cocktail that I like..

A couple of weeks ago, Katie and Ryan were at the cabin, and he was telling me about this great book that Katie brought home for him from Boston, called: “Shake (A new perspective on cocktails)” by Eric Prum and Josh Williams…and he talked me into buying it. Well… he offered to let me borrow his copy for a little while… but I was too excited to wait so I bought it online right then and there….I’m glad he thought to tell me about it…. What a great book. Seriously.
 At first I bought the Kindle version on Amazon. I had it sent to my phone… you know…for something to read while I was at the cabin. I didn’t put it down until I had read the whole book. It’s such a great read, that I had to order the hard copy for myself… It’s filled with some really great cocktail recipes, and they outline the essentials of a well stocked bar….and now I’m slowly stocking up on everything.
Starting with vodka…
This cocktail is right up my alley. The fresh blackberries and honey work together to create the perfect amount of that blackberry sweetness, while the lemon adds just the right amount of tart. It’s truly a delicious drink…one that I know I’ll continue to enjoy for a long time to come.
…And…. they believe that “cocktails can and should be fun, for all occasions”. Even a dress removing. Well, okay…. they didn’t come out and say a dress removing in the book…but I’m sure that they’d agree that it’s funny….and totally deserving of a cocktail!
Life is good. It’s a “You just can’t make this stuff up” kind of good…
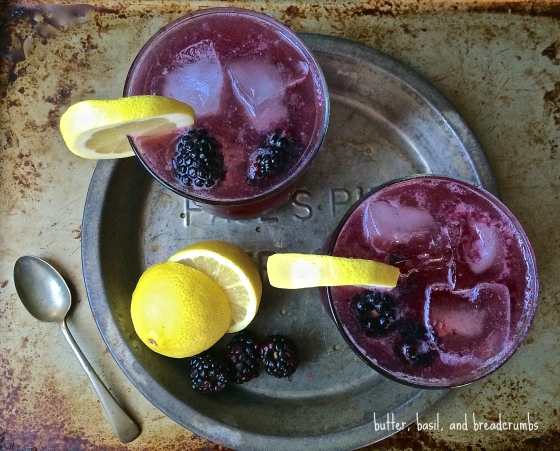
The Blackberry Fence Hopper
From the cocktail book “Shake” by Eric Prum and Josh Williams
Check out their website: The Mason Shaker
Makes 2 Drinks
2 shots vodka
1 shot fresh lemon juice
1 shot wildflower honey
8 fresh blackberries (plus 4 for garnish)
2 slices of lemon (for garnish)
Seltzer
i. Add the lemon juice, honey, and blackberries to the shaker.
ii. Muddle the ingredients in the bottom of the shaker until thoroughly crushed.
iii. Add the vodka and ice to above the level of the liquid and shake vigorously for 10 seconds.
iv. Strain the mixture into tumblers containing large cubes of ice, top with seltzer, and garnish with remaining blackberries and lemon slices.
Enjoy!